Packages
Contents
2.8. Packages#
Packages, like numpy and pandas, expand what Python can do. These packages also come with the Anaconda install of Python. Packages are also sometimes called libraries.
Other packages, like nasdaq-data-link, do not come with Anaconda. We are going to need to go out and get them.
This link from the developers of Python explains how to get packages installed in complete detail on both Mac and Windows machines.
Note
If you’re working in Windows and can’t get these methods to work, you might need to install pip on your machine. See the link above from the developers of Python.
2.8.1. conda, pip and installing packages in VS Code#
If you are in VS Code in Github Codespaces, things are pretty straight forward. Inside of a Python code cell, you can type:
pip install package-name
where you fill in package-name. Run that cell and your Python interpreter will go out and find that package. You can also use the terminal window in you Codespace. More on pip in a second.
Note
By importing a package, you get access to all of the classes and methods that come with that package. This are important concepts from software engineering and make your code much easier to read and use. Essentially, you get built-in modularity – you don’t have to reinvent the wheel and define, say, an array every time you use them. We’ll talk a bit more about this when we get to object oriented programming and related concepts.
If you’re working locally, you can access your terminal via VSCode, or directly on your computer. On a Mac, search for Terminal. On a Windows machine, look for the Windows Command Line Shell. Both let you do things in a text-based way. This can be very powerful.
If a package is available via Anaconda, you can install it at least two ways. In the terminal, you will type:
conda install package-name
where you fill in package-name. You can also use the Anaconda Navigator that got installed when you downloaded Anaconda. This let’s you avoid the terminal and use a GUI to look for and install a package.
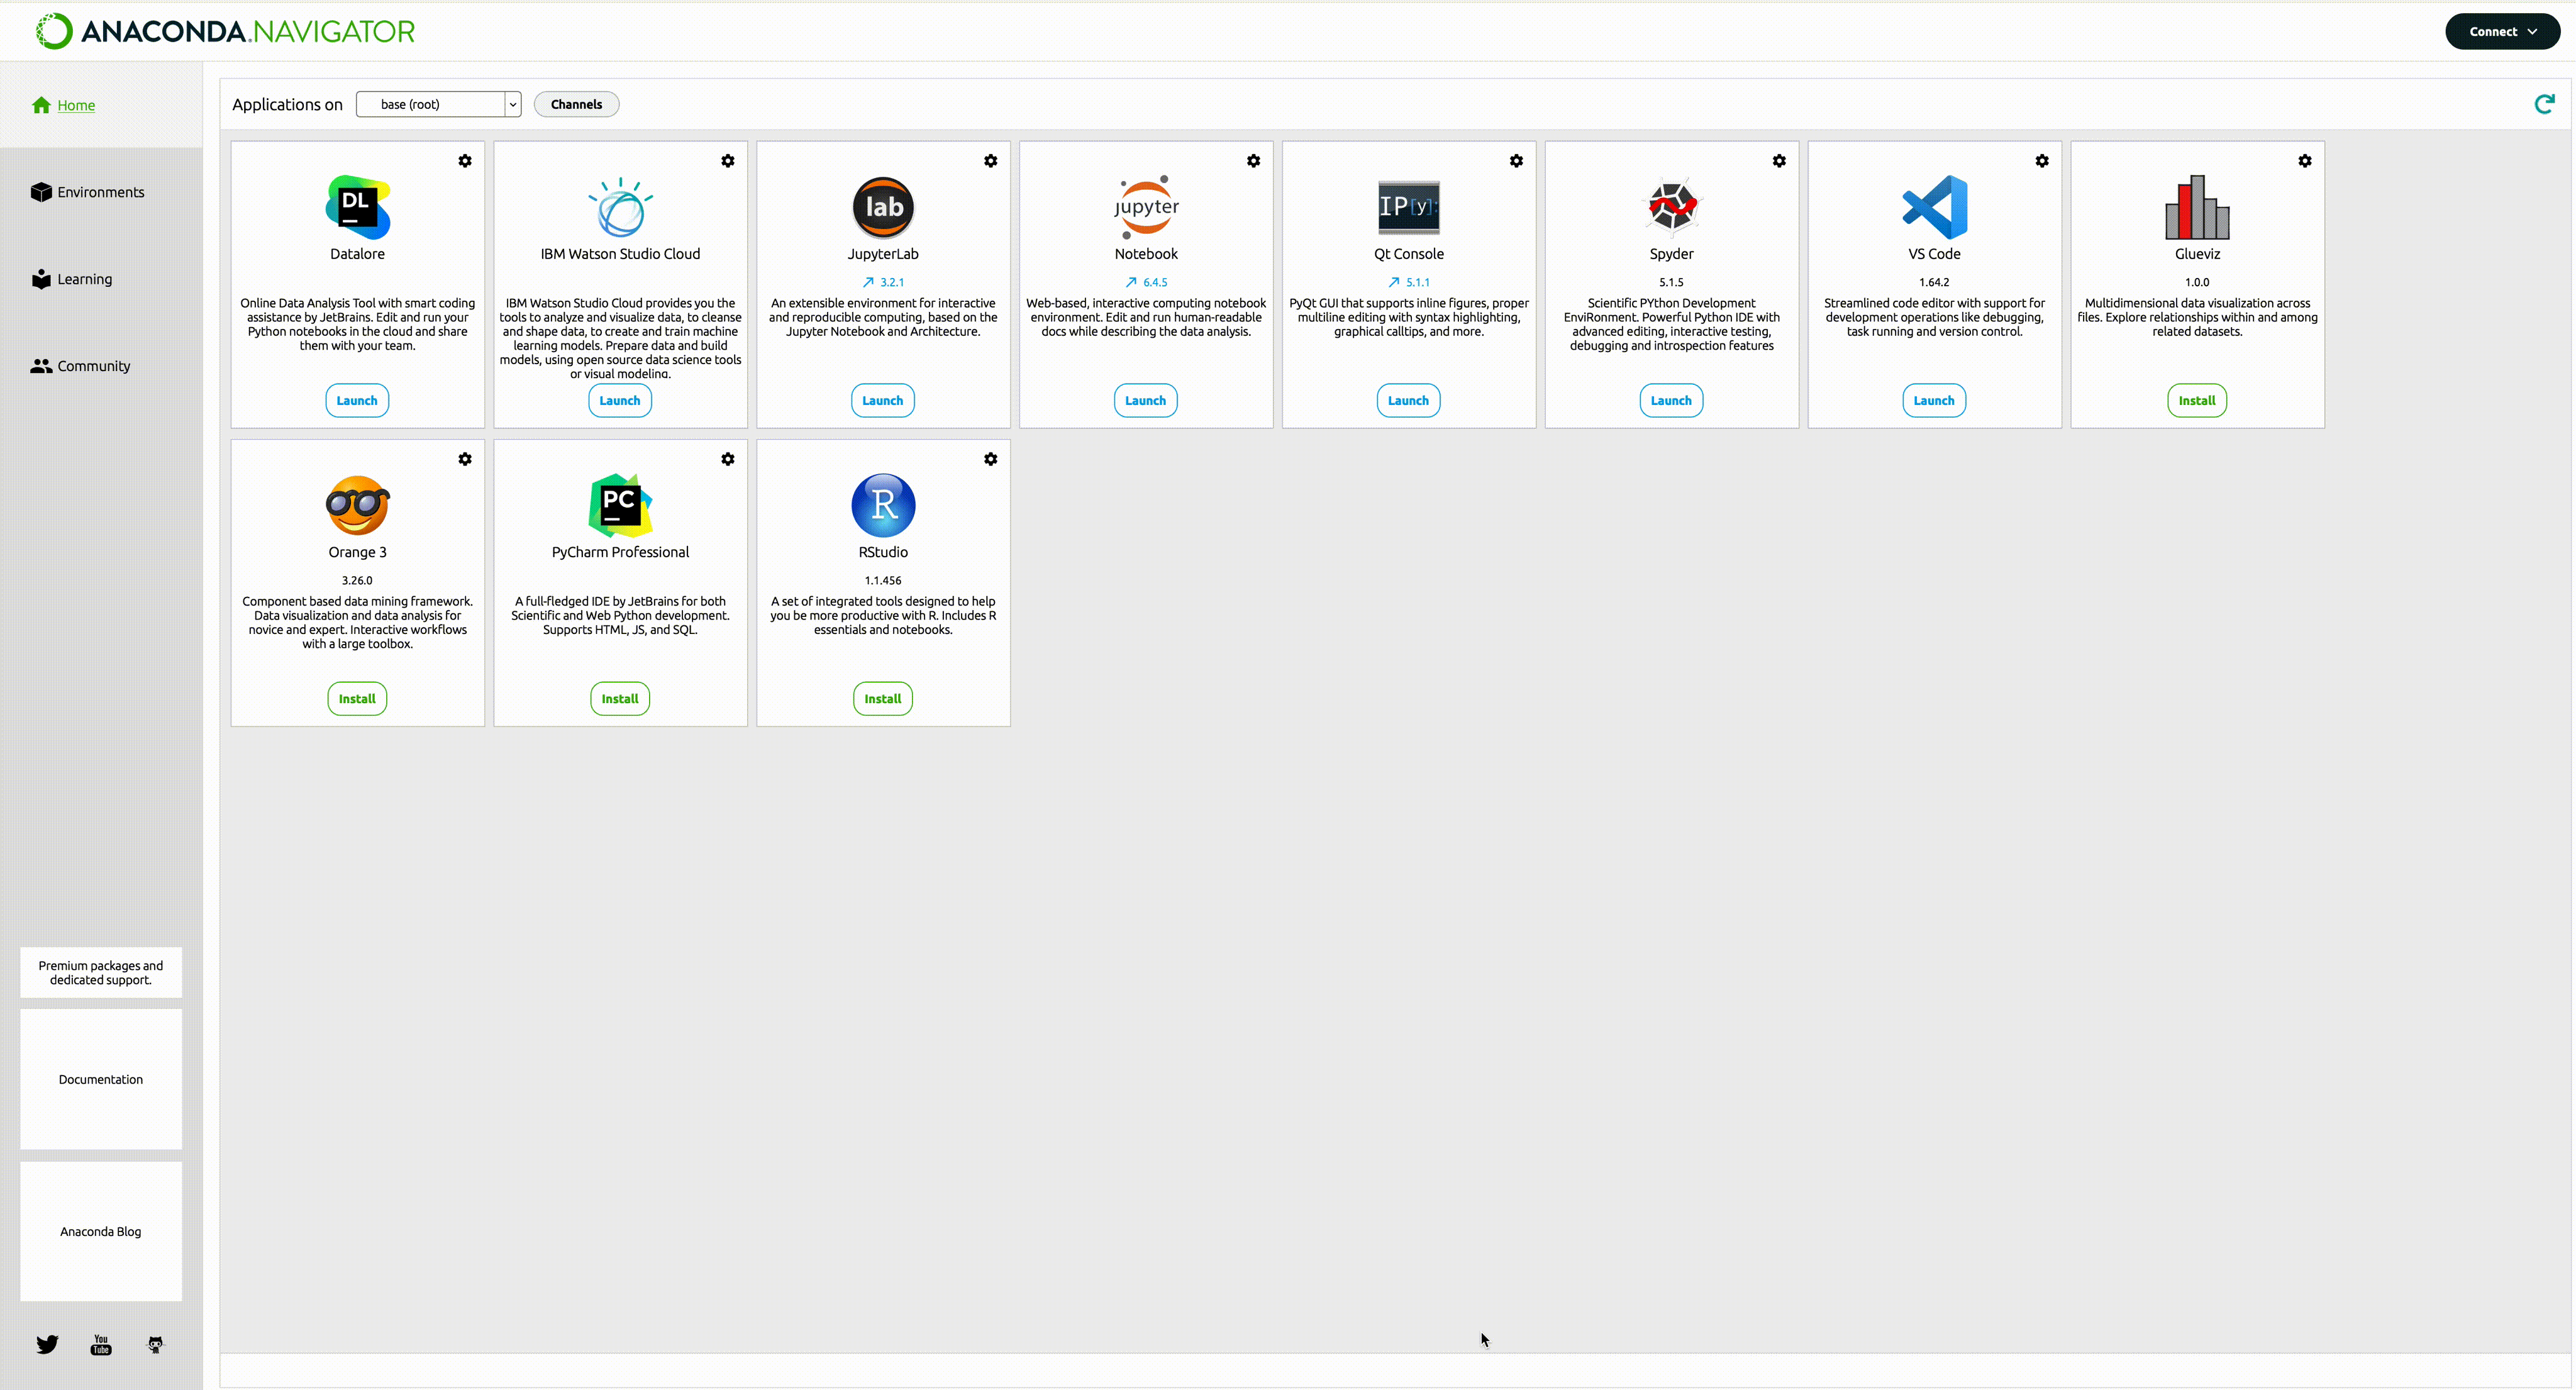
Fig. 2.29 You can use the Anaconda Navigator GUI to check and see which packages Anaconda has installed, including ones that you install yourself to Anaconda via pip.#
2.8.1.1. pip#
You will also see many packages that say to use pip to install them. This is where it can get tricky – packages have dependencies, or other packages that the package that we want is using. pip may or may not be able to install every package dependency, though it will try.
Note
pip can only handle Python packages. Some packages, like the portfolio optimizer that we’re using, require non-Python dependencies to work. Long story short, newer M1/M2 Macs may not have these installed by default. In that case, you have to install them first using conda, which can handle non-Python dependencies. This is easier when using what are called virtual environments.
pip is a way to install Python packages via the command line and stands for pip installs packages. This is a computer science joke – the acronym is in the definition, which gives it a recursive definition.
But, where is it installing the packages? Which version of Python will it be associated with? This is the tricky part and one of the frustrating aspects of Python.
In the Mac terminal, either in VS Code or just in the terminal app, you can use the following to see which pip and which Python your computer is currently looking at.
which -a pip
which -a python
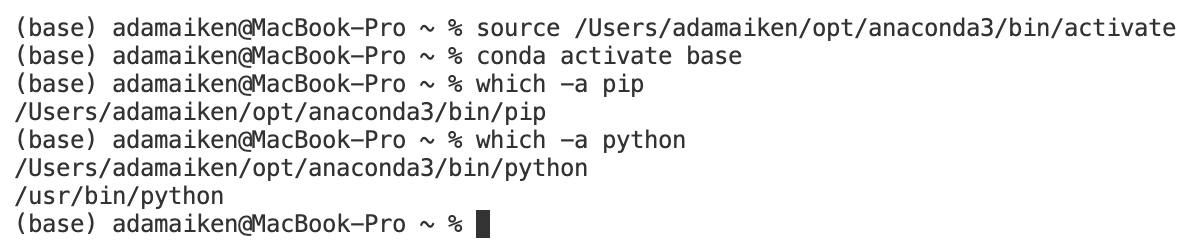
Fig. 2.30 Running which in the terminal on my Mac.#
The terminal window in VS Code running on a Mac is accessing the Unix system that Macs are running on. As noted above, you can also run terminal outside of VS Code. When I run that code, I can see that I am using the Anaconda3 distribution of pip and that I have two versions of Python, including Anaconda. This means that, when I use pip, that my packages will also be installed in Anaconda.
Hint
The interpreter or kernel suggested by VS Code may not be the most up-to-date version.
A bit of an aside: There’s also another version of Python that doesn’t get listed there, because I looked for Python, and not Python3. I can see it when I do select Kernel in VS Code. There’s a Python 2.x and a Python 3.x that are in my /usr/bin/ folder. These are the version of Python that came with my Mac. I want to use the latest Anaconda version and not these. So, I want all of my packages to be associated with the Anaconda version of Python.

Fig. 2.31 You might have a few different versions of Python installed on your computer. You’ll want to select the most up-to-date kernel when running your code.#
On a Windows machine, things are a little different. Windows comes with two ways to run the terminal inside of VS Code – the Windows Command Line (CMD) and Windows Powershell. You can access both using the terminal inside of VS Code. When you open up terminal, you’ll see in the upper right-hand corner of the terminal either powershell or cmd.
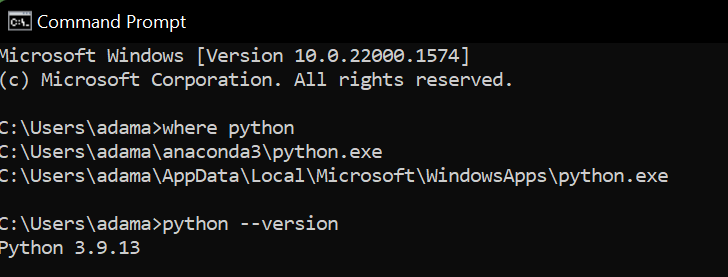
Fig. 2.32 You can open up the command line in Windows outside of VS code by running cmd.exe#
Which one you’re running inside of VS Code matters. Commands such as which and where are not native to Powershell. Powershell also doesn’t know where pip is, unless you tell it. These commands will work in a terminal running cmd, however. You can use the + button when you open up terminal in VS Code to select the one that you want.
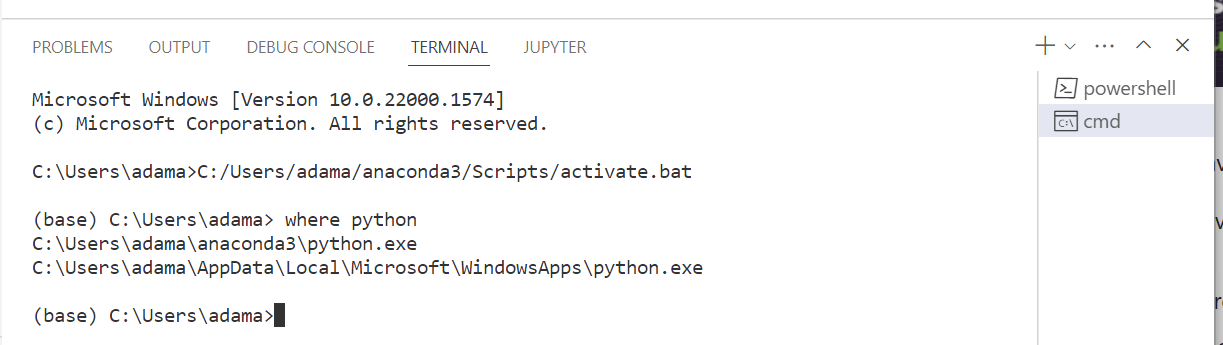
Fig. 2.33 You can see that I’m using a cmd terminal window here. This means that where python works.#
Let’s use pip to install the data package for the NASDAQ. You can set-up an academic account with them before doing this.
With my account set-up, I can install the package by running the following in the Terminal if the pip that I’m using is associated with my Anaconda3 install. This should be the case.
python -m pip install nasdaq-data-link
The python -m part tells pip to associate the package install with your current Python executable (i.e. the version of Python that you’re running right now). You should now shut down VS Code and open it back up. Using it is the careful way to do things. You’ll note that I don’t always do it. You’ll see me do things like:
pip install nasdaq-data-link
This way should work in Github Classroom, on the Mac VS Code install or Google Colab.
However, we need to be a bit careful on a Windows VS Code install. If you open up a Powershell terminal inside of VS Code and try to run pip you’ll get an error. Powershell doesn’t know where pip lives. Or Python, for that matter.
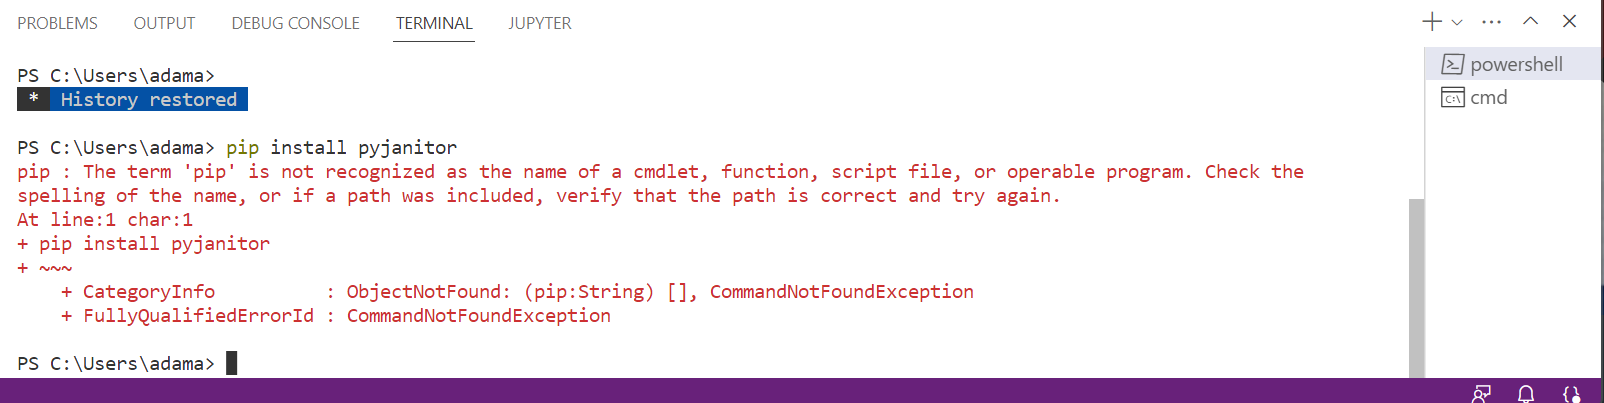
Fig. 2.34 On a Windows VS Code install, if I’m using Powershell, it won’t know where to find pip or even Python without changing some system settings. You’ll get an error that looks like this if you try to install a package via Powershell using pip.#
However, if you open up the cmd terminal inside of VS Code and run pip, things should work. In this example, I’m install a package called pyjanitor using pip inside of the Windows VS Code cmd terminal.
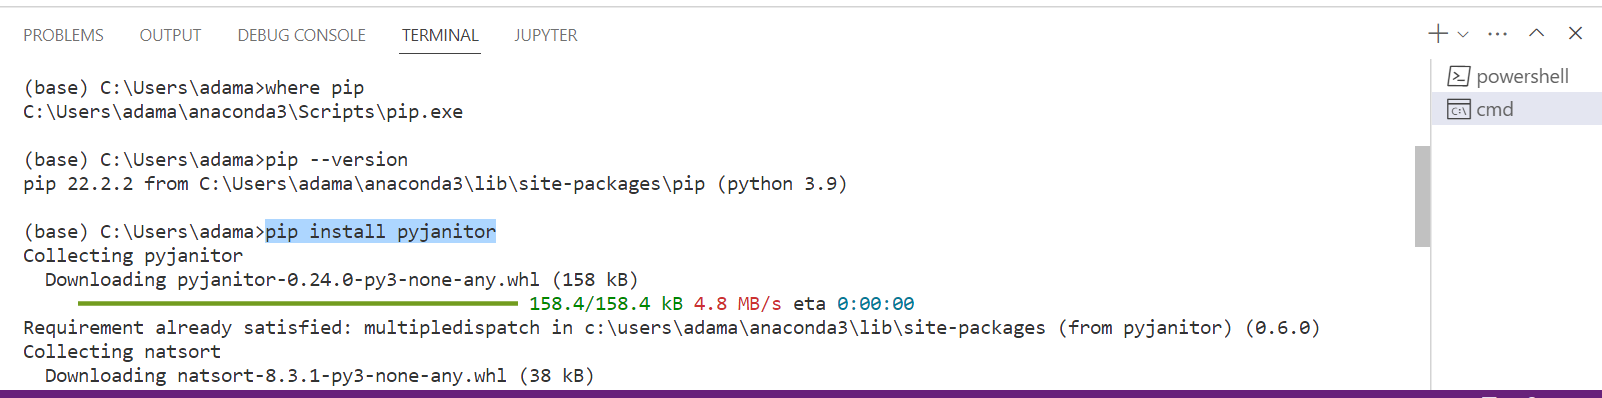
Fig. 2.35 If you’re running terminal using cmd, then you can use the pip command to install packages by default.#
If you’re running Python on your own computer, you can even go back and check to see if Anaconda now has your library. Open up the Anaconda Navigator and search for the package. Once you have installed the package, in either a Python script or Markdown cell, try the following:
import nasdaq-data-link
This pip method should work for all of the packages that we’re using.
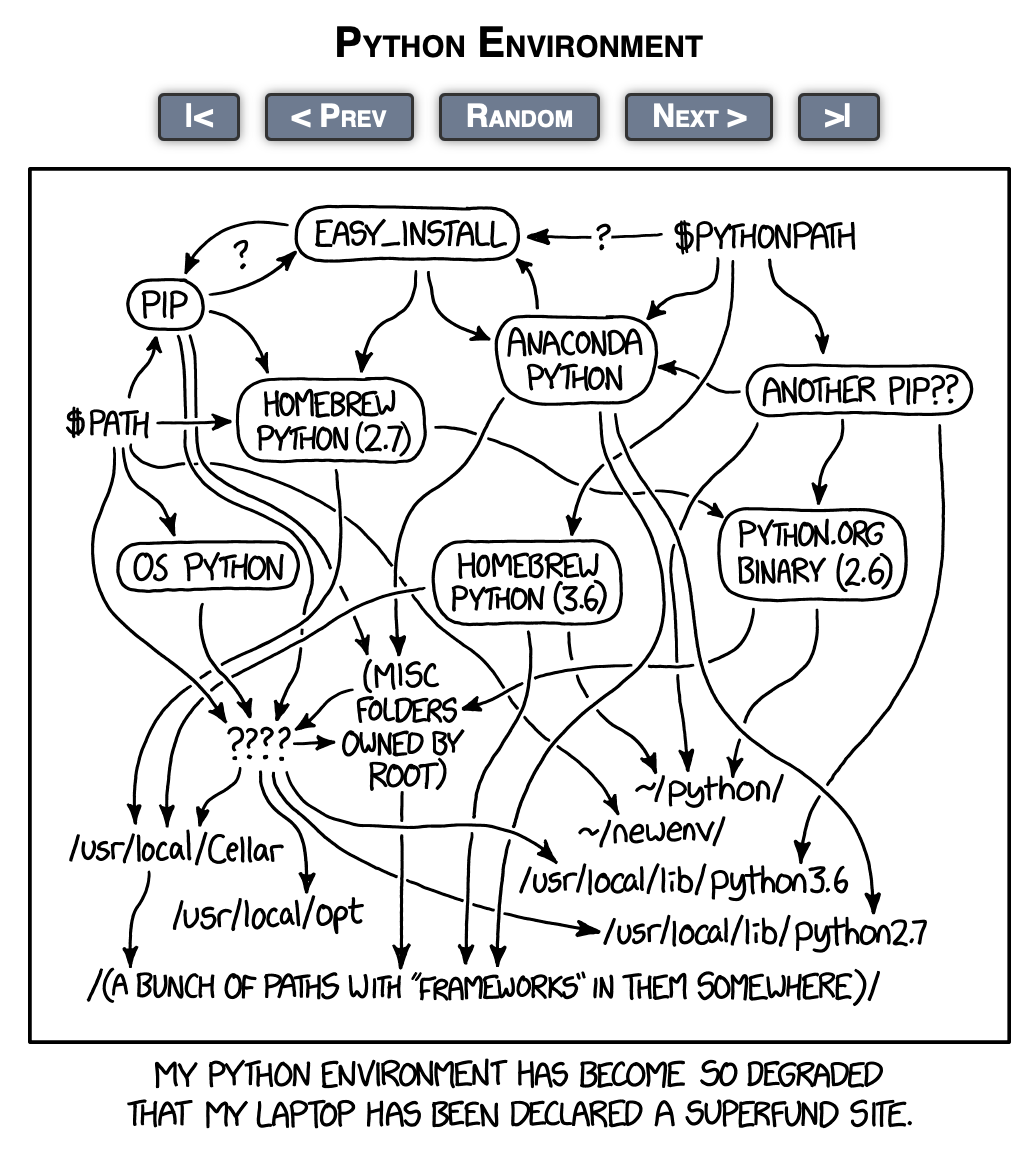
Fig. 2.36 Managing Python installs and where everything is located is notoriously difficult.#
Here’s a nice group of new libraries. We’ll be sticking to the basics, like pandas, in this course.
Note
If you try to import a package and Python in VS Code tells you that it can’t find it, make sure that you are using the Anaconda distribution kernel. This is the version of Python that comes with all of the packages already installed. You can select the version of Python that you’re using by clicking on the Python version given in the upper right.
2.8.2. What if you don’t have pip?#
If you’re on a Mac, pip should be there. pip comes installed with the Anaconda distribution of Python.
However, if you’re trying to run pip in Windows using CMD and it doesn’t work try these steps. This video does similar steps.
Note
If you want to avoid all of this, just use Github Classroom.
2.8.3. Installing packages in Github Classroom and Google Colab with pip#
The instructions above are general, but have VS Code and a local install of Python and all of its dependencies in mind. This is the customizable way to install and work in Python.
But, Githib Codespaces and Google Colab are browser-based, remote environments that also let you install other packages. For example, both come with numpy and pandas already installed. In other words, it already knows about these, so you can go ahead and use import.
But, what about other packages? You can still use pip and install the package in your remote instance of Python.
!pip install nasdaq-data-link
Note the exclamation point. This lets use run a shell command (i.e. something that would run in the terminal) directly from a Python notebook. Since we don’t have a terminal window in Google Colab, we need to do that.
**You don’t need it in Github Codespaces.
You can use the !pip method in any Jupyter notebook, including in VS Code. But - every time you run that code cell, pip is going to try to install the package, unless you comment it out. This is why I like using the terminal or command line to install packages when needed. This is not an option when using Google Colab.
2.8.4. Conda vs. pip and virtual environments#
When might you use conda and when might you use pip? You can read more about the distinctions on the Anaconda site.
As noted, things can get very messy with Python installations, as different packages rely on other packages, which can conflict with the requirements of other packages. This is why many people use what are called virtual environments when dealing with Python. These isolate packages and requirements from one another. This is beyond the scope of what we’re doing, though.