Jupyter notebooks
2.4. Jupyter notebooks#
We are going to use Jupyter notebooks, either in Github Codespaces or in a local VS Code environment. All of the computers in our labs have Jupyter installed with their Anaconda installation.
You can also create Jupyter notebooks using Google Colab, another browser-based developer environment. I discuss this later on.
Basically, there’s a lot of ways to use Jupyter notebooks, since they are used every where in data analysis.
What are Jupyter notebooks? They are a way to combine Python and Markdown. Each cell in a Jupyter notebook contains come kind of code. That code might be Python. When you run the cell, that code is executed and you’ll see the result below. You can all have Markdown code in a cell. Markdown let’s you include text along with your Python code. This means that you end up producing a notebook that has your code, your output, and your own write-up. This type of notebook environment is very popular for exploring data and the reporting on what you found.
You can read about using VS Code and Jupyter notebooks here. I go into more detail on using notebooks with VS Code later. Things will basically work the same in Github Codespaces.
And here’s the link to the Datacamp Cheatsheet for Jupyter notebooks again.

Fig. 2.18 You’ll get something like this when you first open Jupyter Notebook from Anaconda. I have a few settings and extensions already changed and installed.#
Click on Jupyter Notebook in Anaconda Navigator and you’ll open it up in your browser. That’s right, your browser! You’ll get a start page with you’re default root directory. You’ll want to find your class folder. This will set that as your root directory as you work. In other words, when you save your file, reference folders and other files, etc., this is where your code will start looking.
Once you are in your class folder with the structure that I have suggested, select New:Notebook:Python3 in the upper right. This will create a new Jupyter notebook.
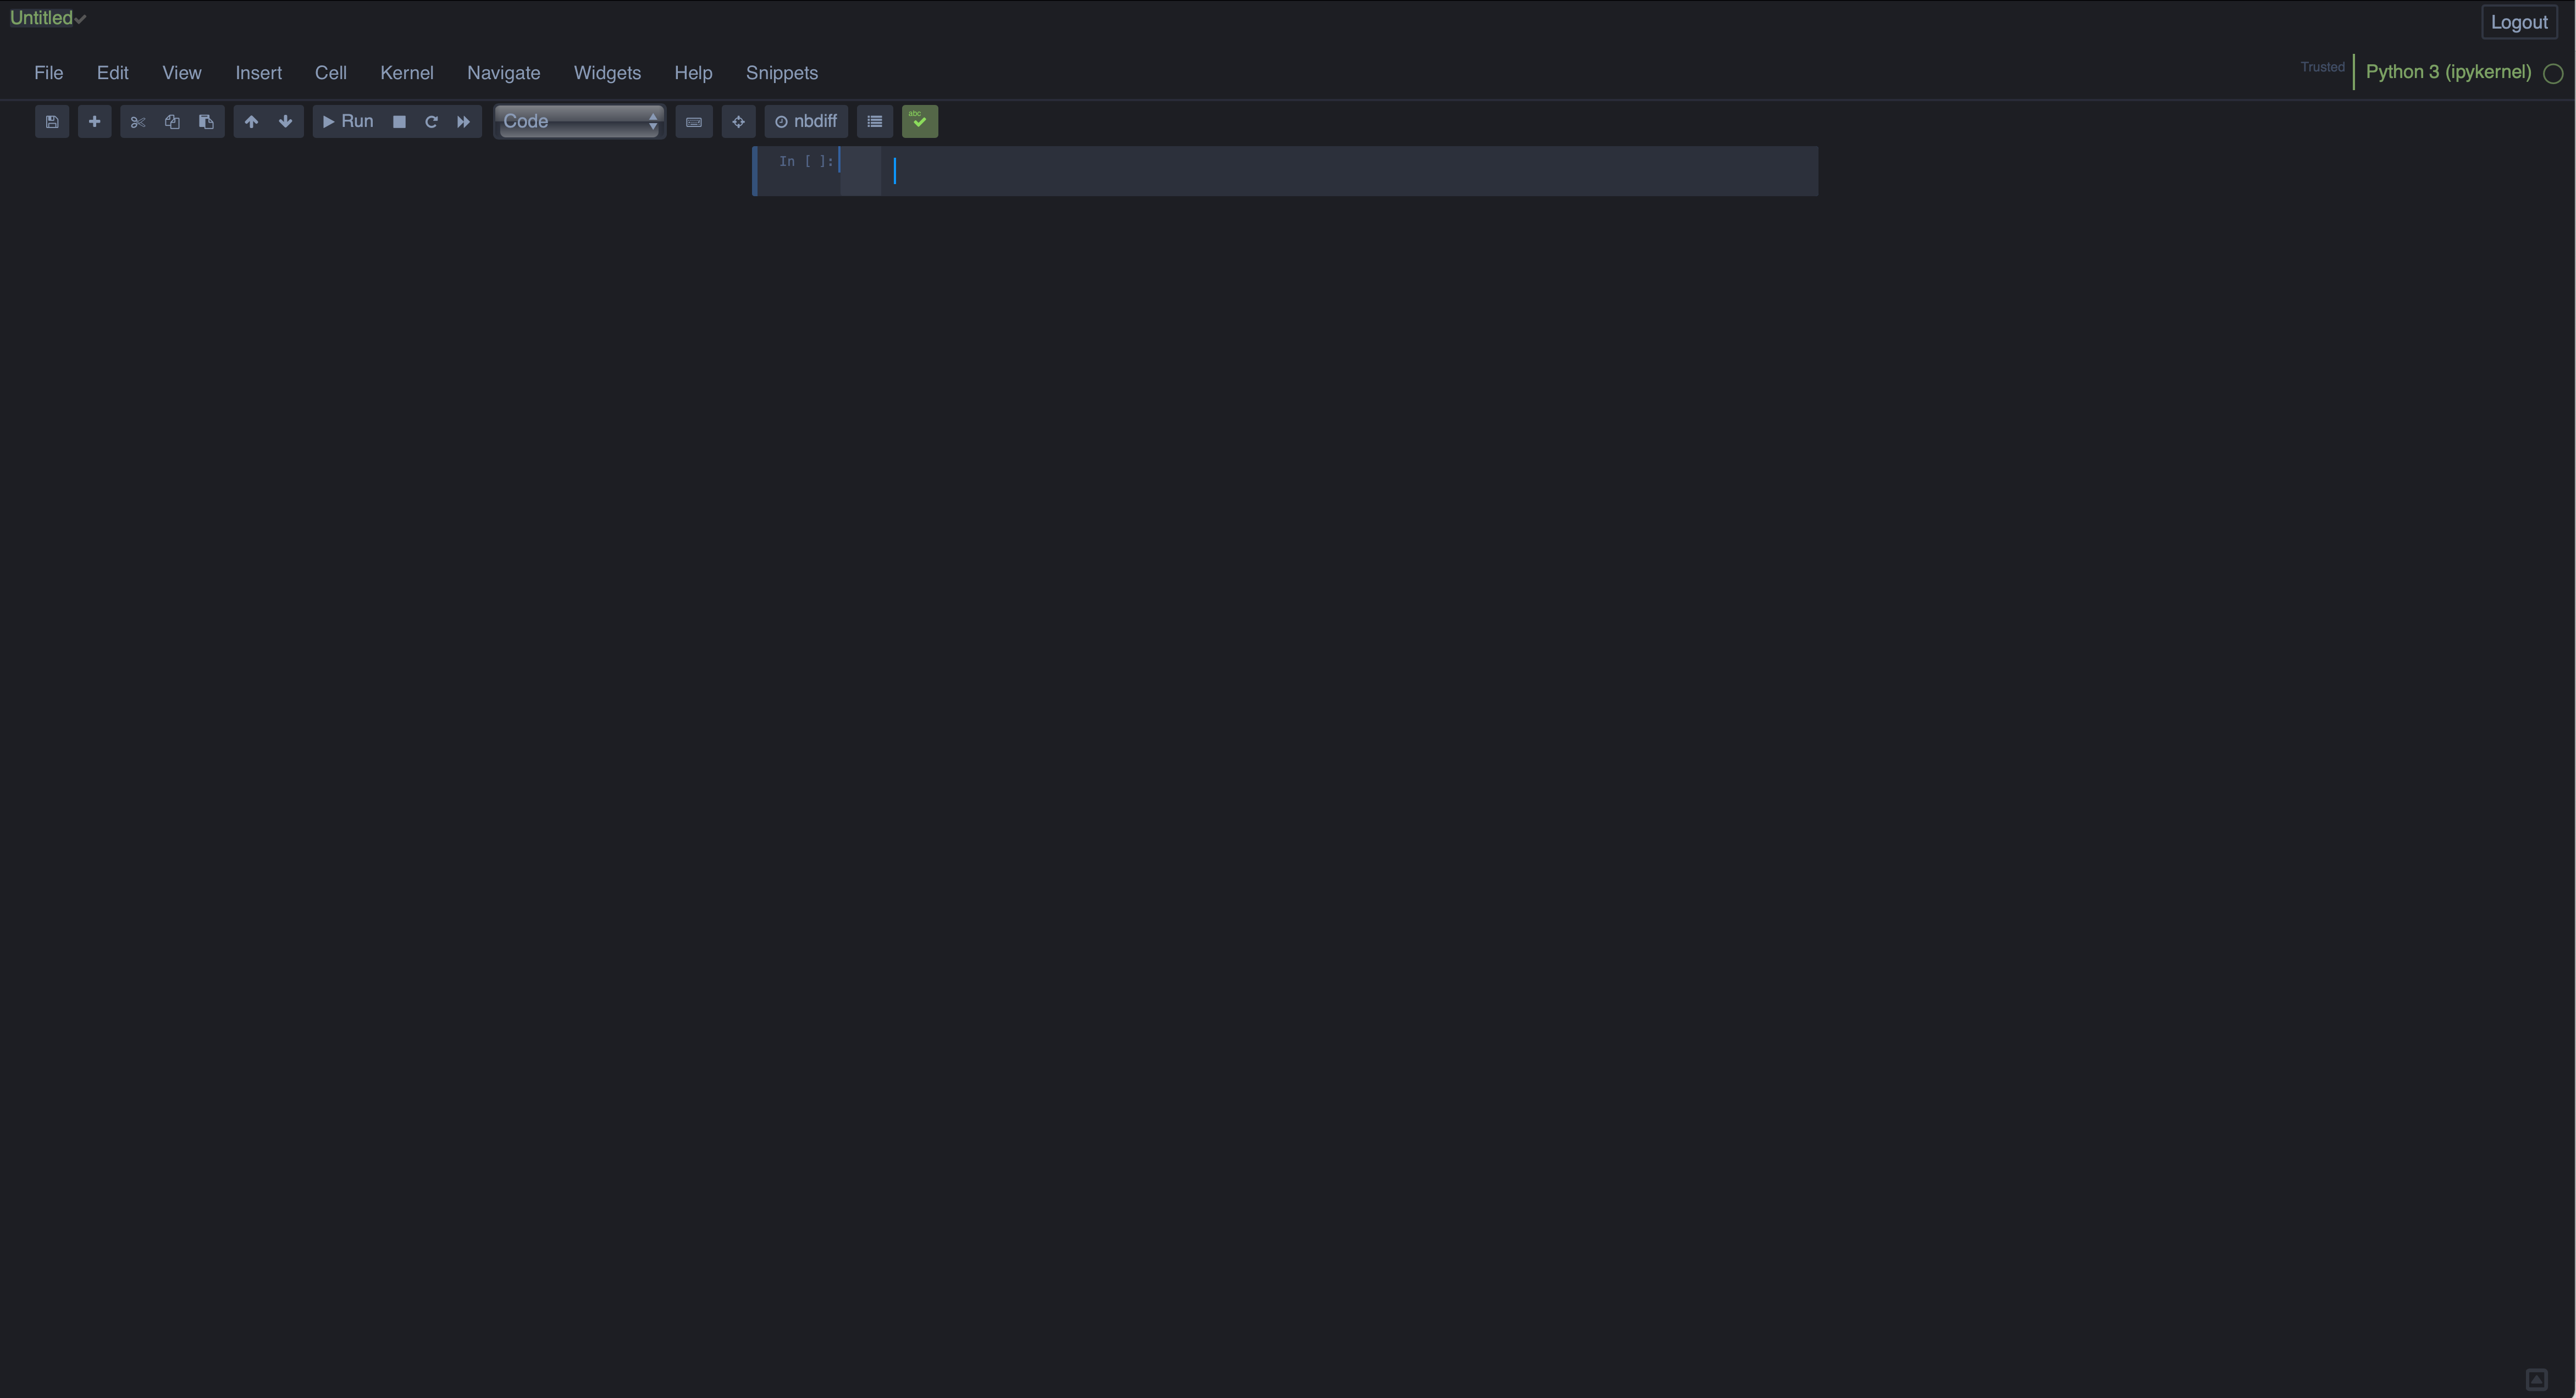
Fig. 2.19 A blank Jupyter notebook#
When you open up a new notebook, you’ll see a blank cell. By default, it will start with a Python cell. That means that you can write your Python code in it, and then run the cell and get the output below.
You can also create a new cell that is Markdown to enter text. You can do this below or above the first cell. You can also switch cells from Markdown to Python.
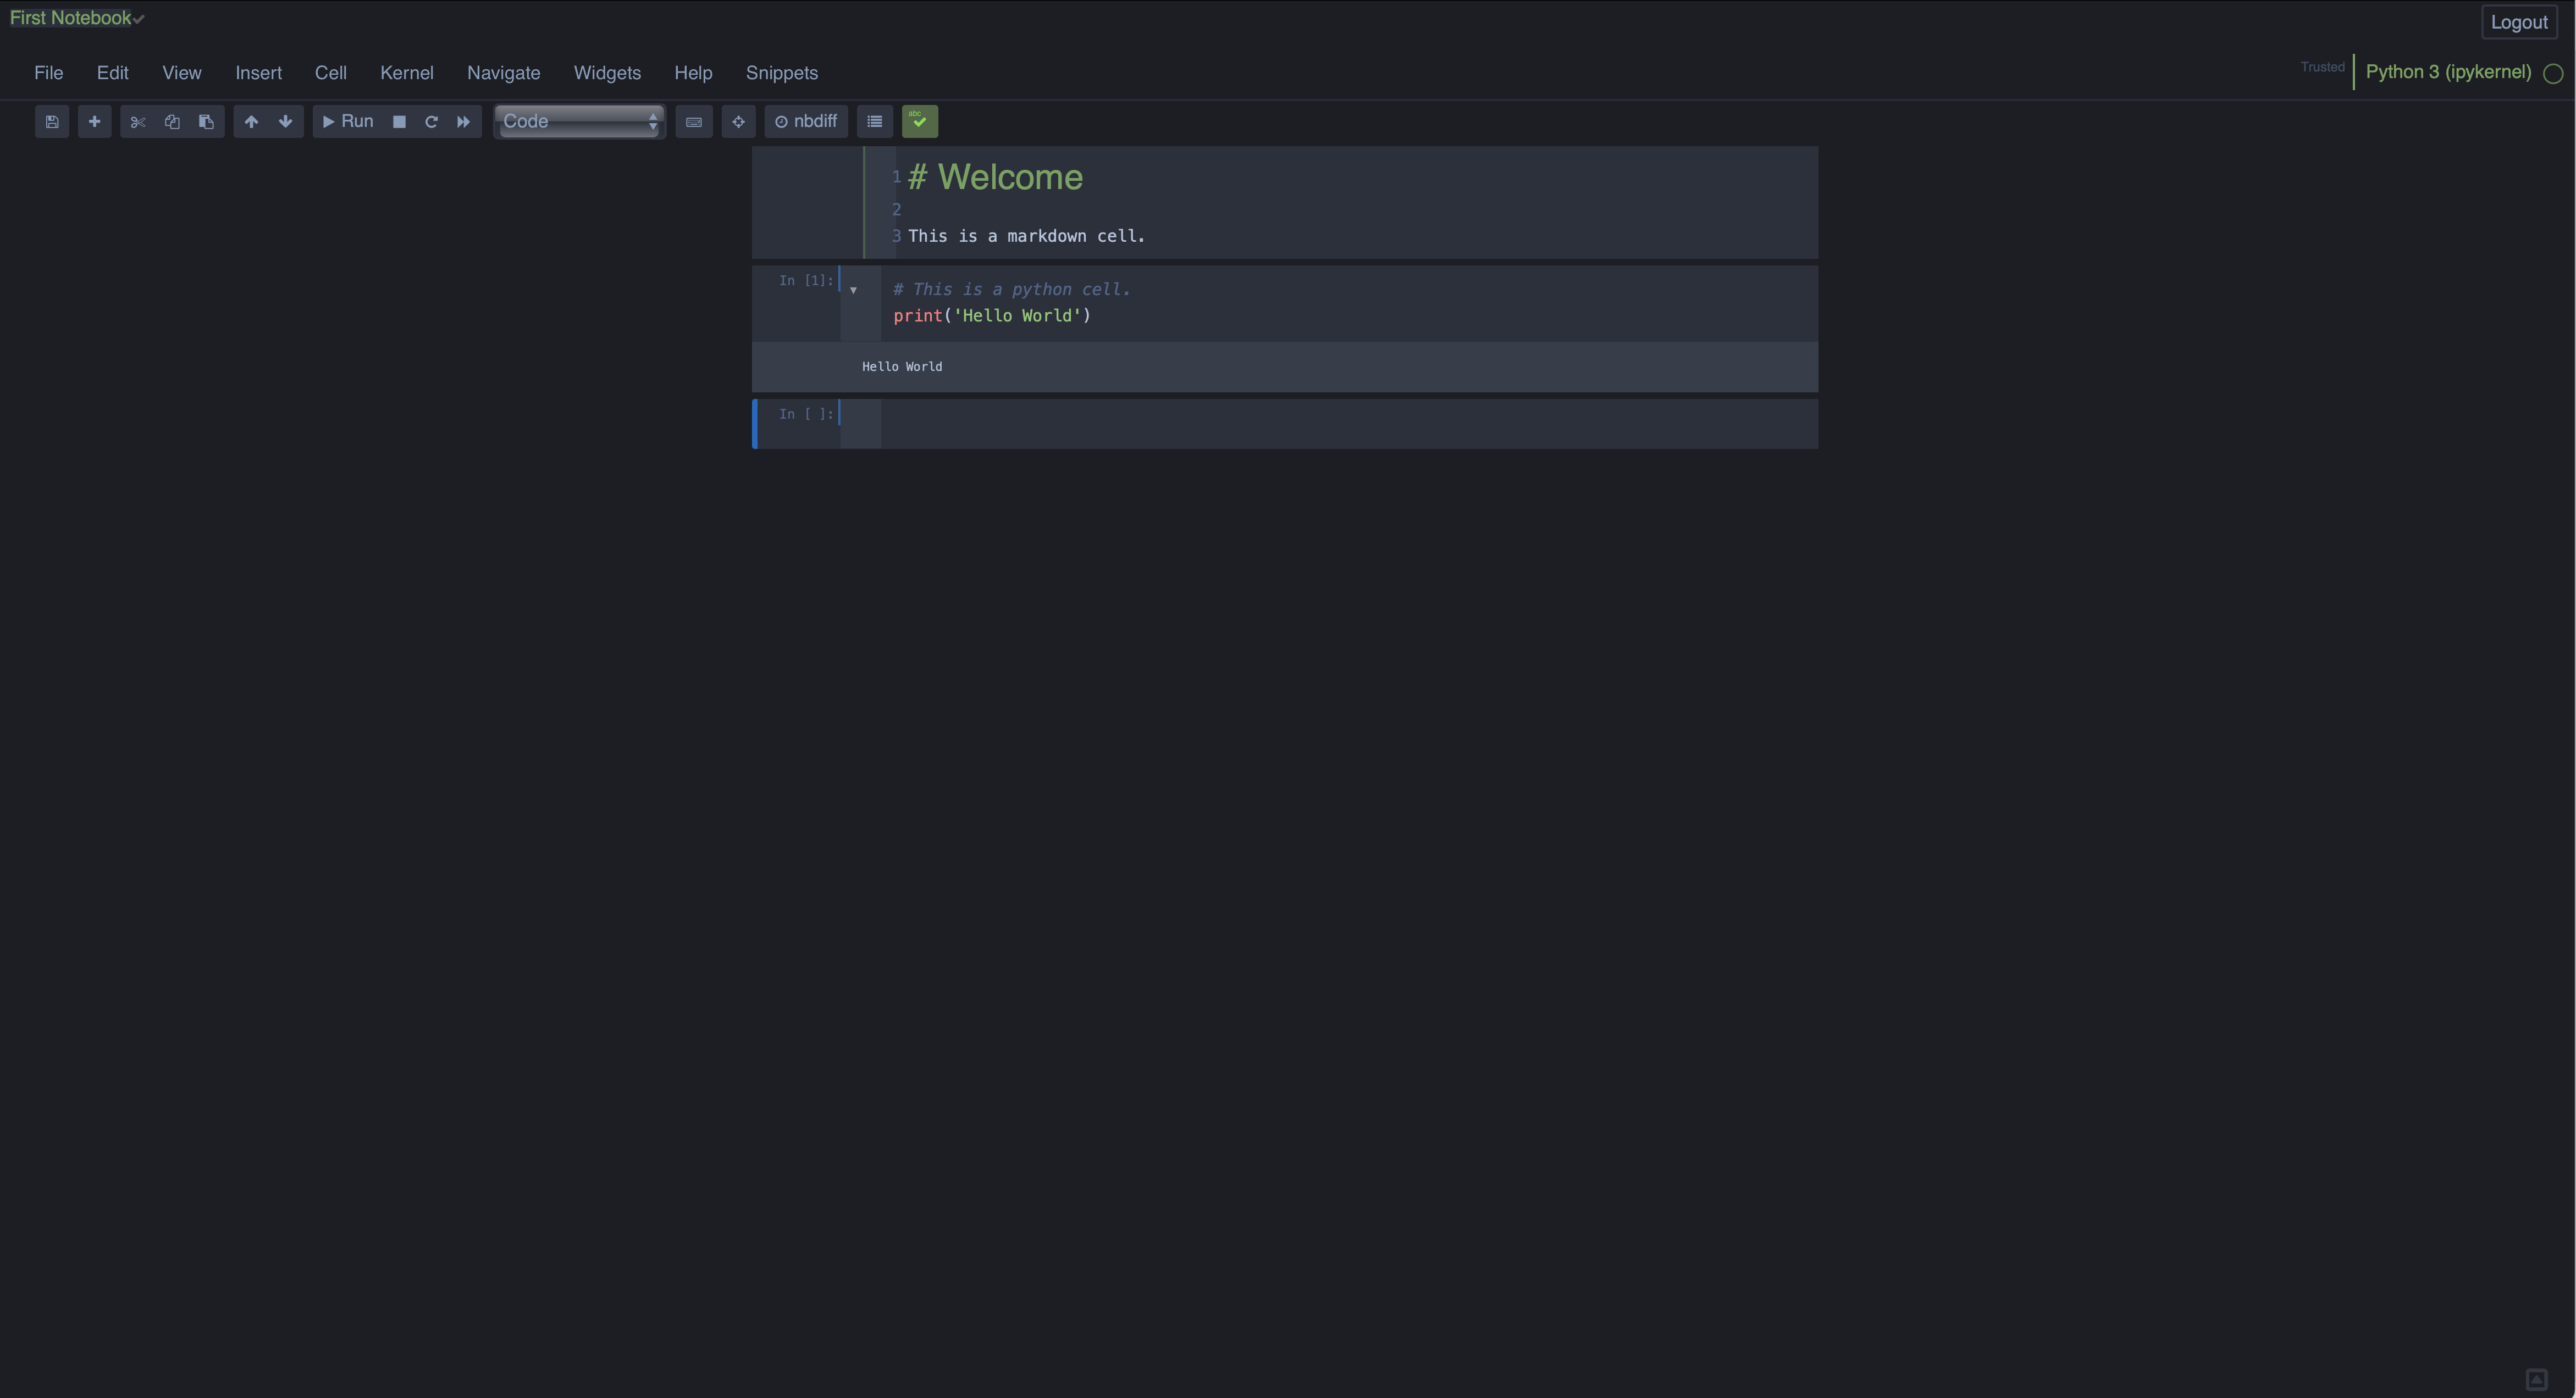
Fig. 2.20 A Jupyter notebook with some Markdown and some Python. I have also renamed this notebook to First Notebook.#
You can click Untitled in the upper left to rename your file. It will live in that root, default directory that you saw when you opened up the Jupyter notebook. The file will have a .ipynb extension.
If you go under File:Download, you can download your work as a PDF file and many other file formats.
I find it easier to keep track of my files and paths using VS Code. And VS code can do Jupyter notebooks too!