Installation
Contents
2.2. Installation#
Let’s go through our two installs: Anaconda and VS Code.
2.2.1. Anaconda#
You want to start by installing Anaconda. Anaconda gives you the latest version of Python, as well as automatically installs many different Python libraries. Libraries extend what Python can do and include numpy and pandas, two libraries that are critical for dealing with data.
Note
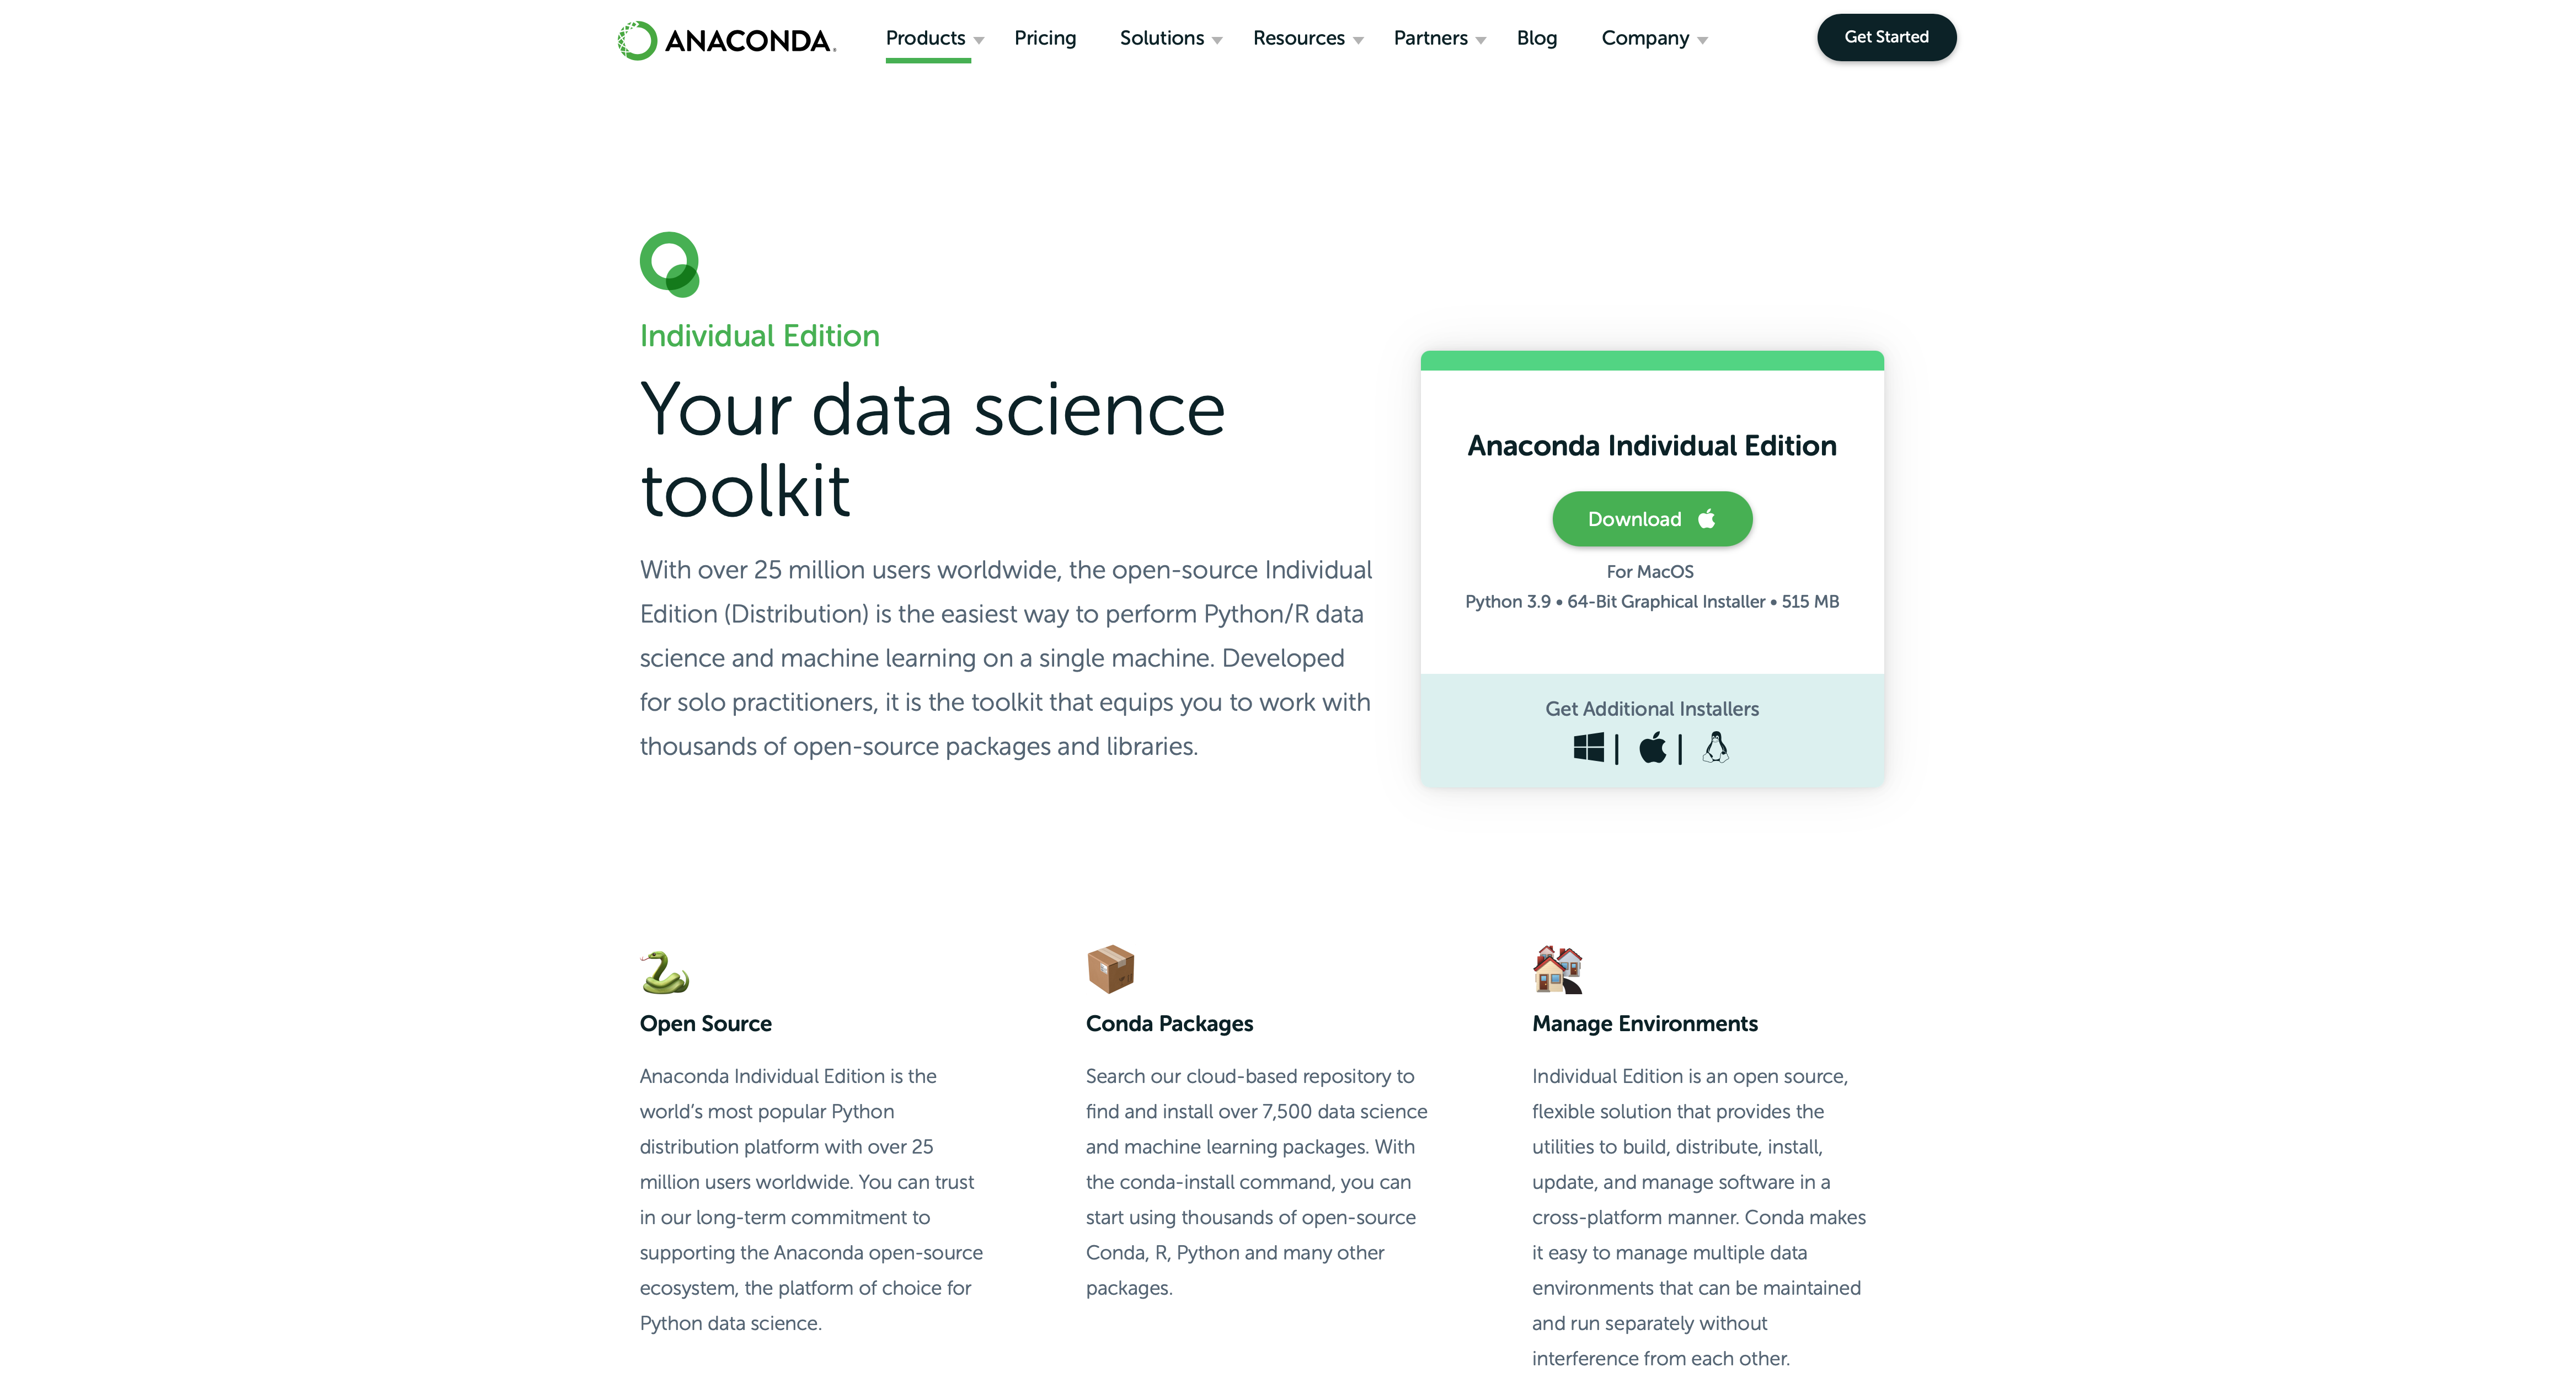
If you are downloading Anaconda onto a Mac, make sure you get the correct version for your processor. Older Macs will use Intel or x86 chips. Newer Macs have ARM (e.g. M1 or M2) processors. You may need to click the Apple icon on the Anaconda page to get the correct version for you.
Anaconda will handle all of the set-up for us. Download and install the version that is appropriate for your machine. The process is fairly straightforward.

Fig. 2.1 The Anaconda Individual install page. Note that you can see the Python version that you are installing. You want 64-bit for either Mac or Windows. If you have a Mac, make sure that you are getting the correct version (x86 or ARM).#
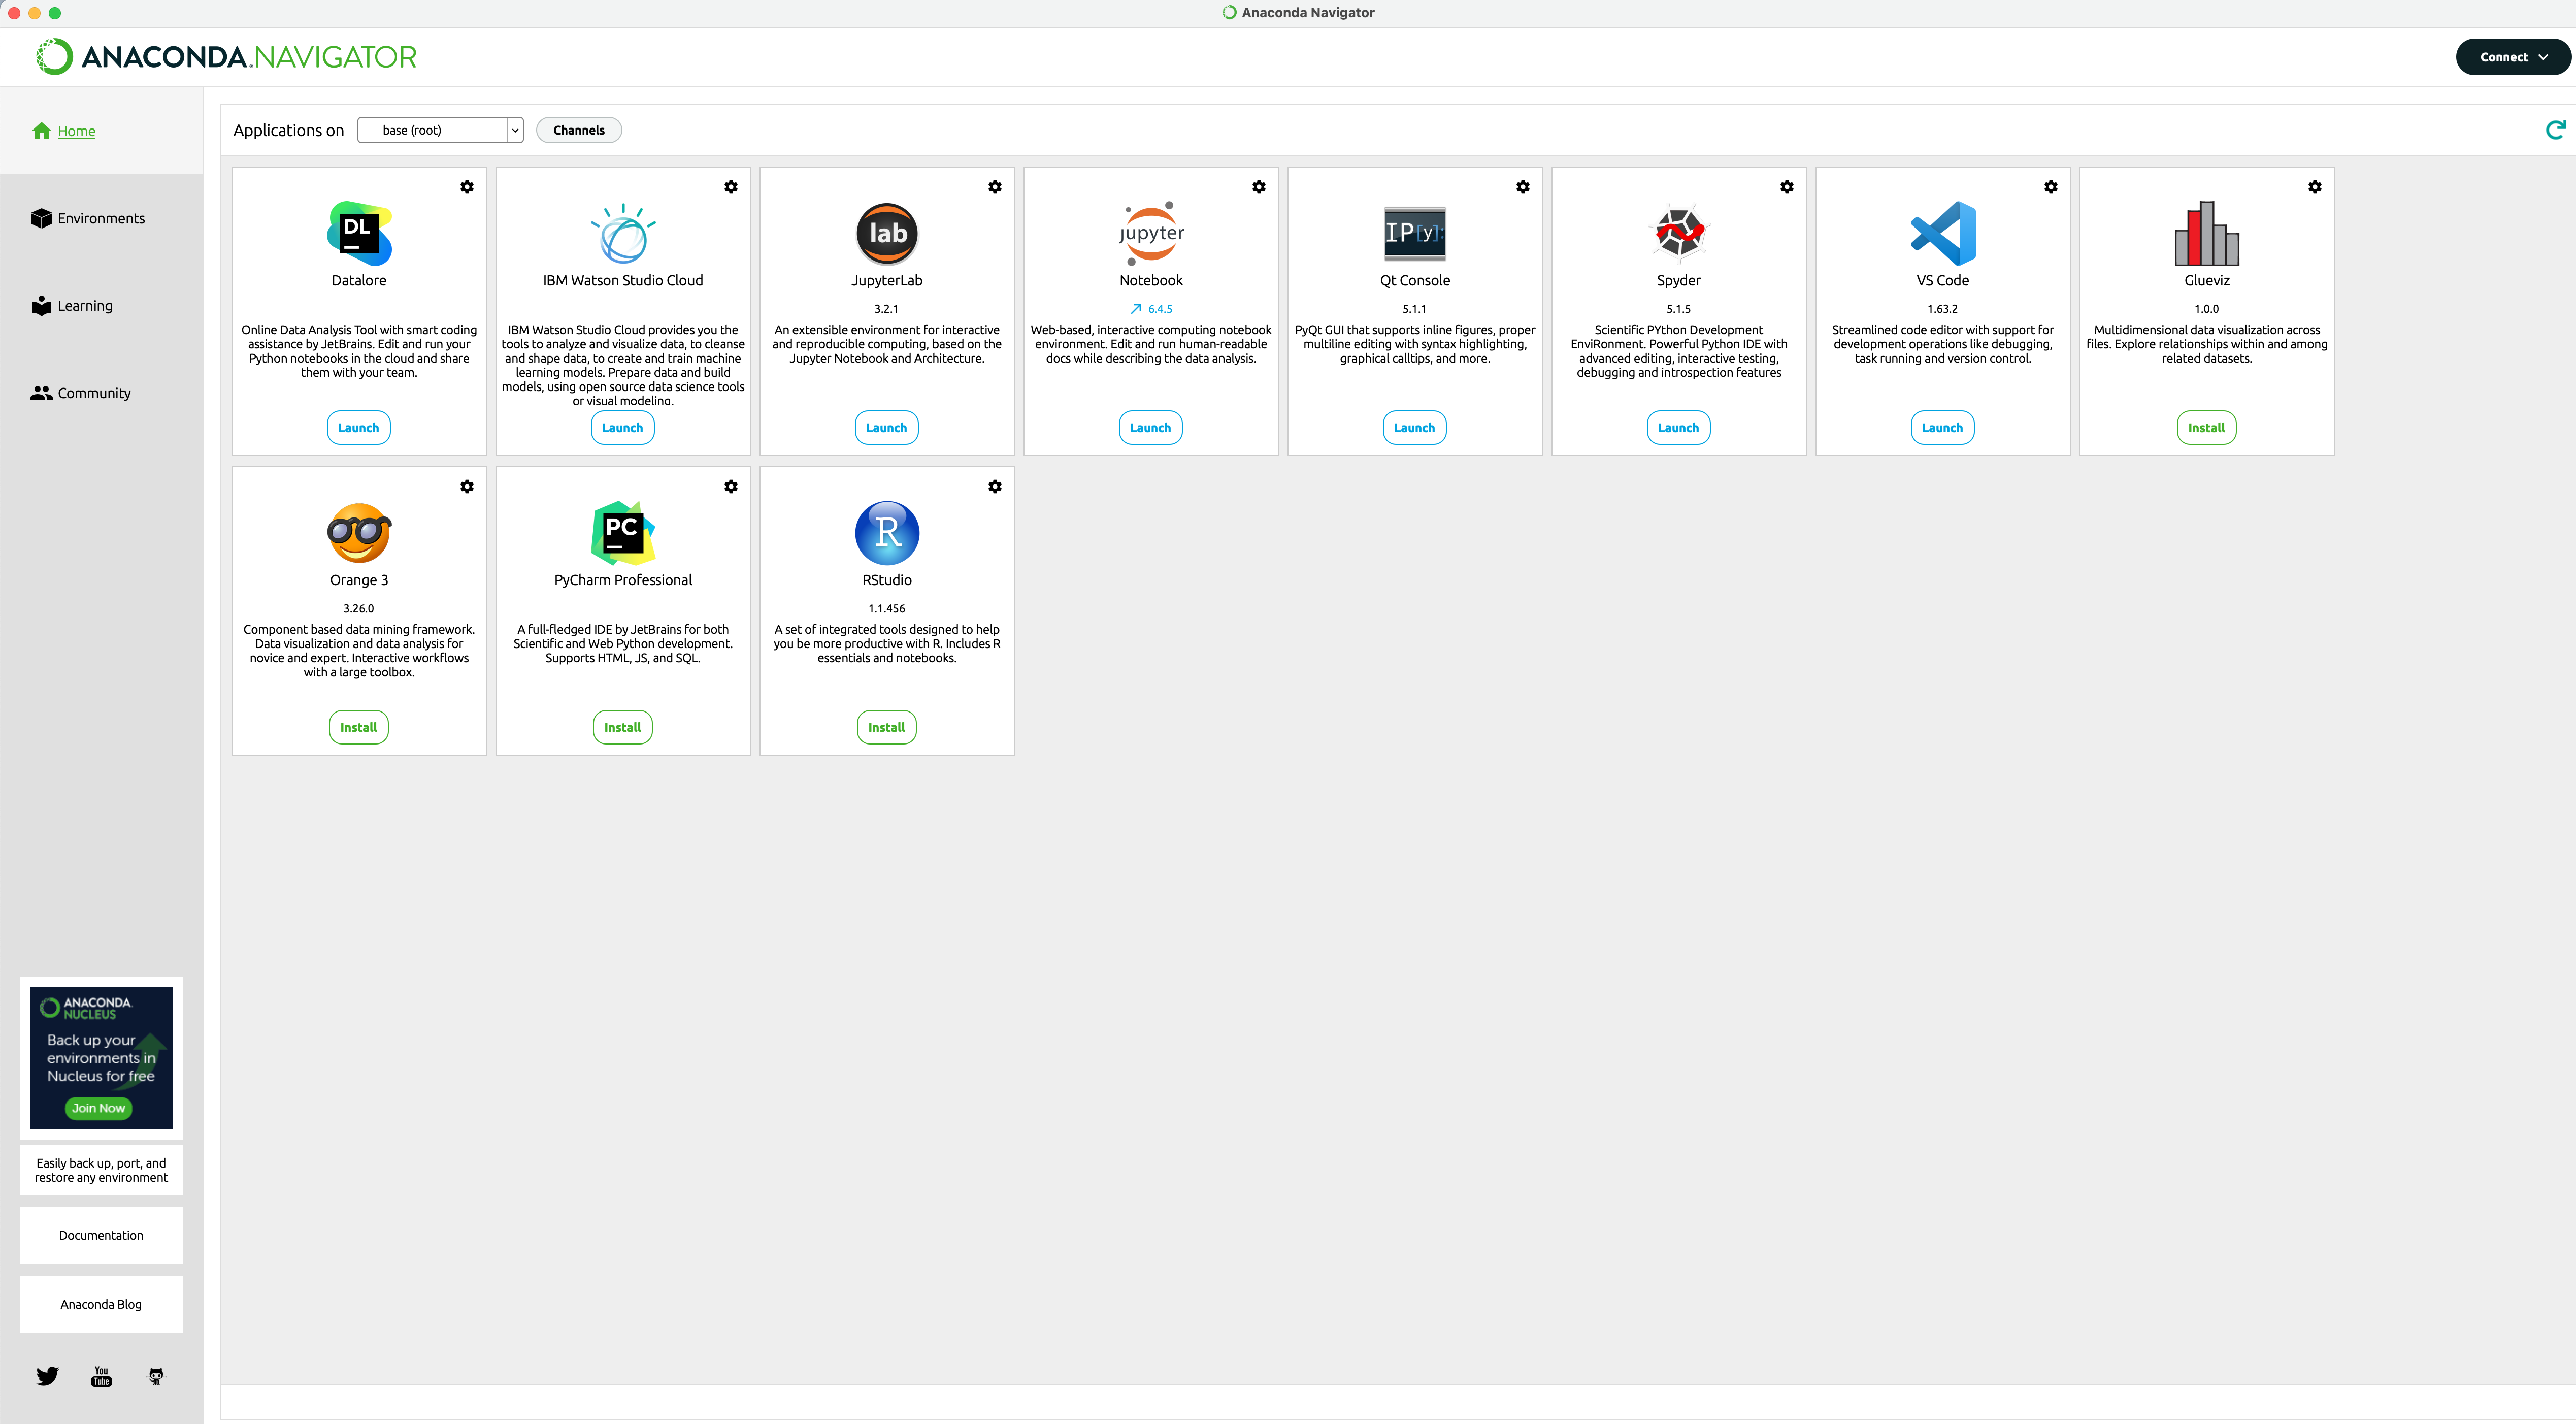
Anaconda also gives us the Anaconda Navigator. This let’s you see what Anaconda has installed. You find the Navigator on your machine, installed as an application.

Fig. 2.2 My Anaconda Navigator layout when I open it. See the Jupyter Notebook button? We’ll be using Jupyter notebooks, but mainly through VS Code. Your layout will likely look a bit different from mine.#
2.2.2. VS Code#
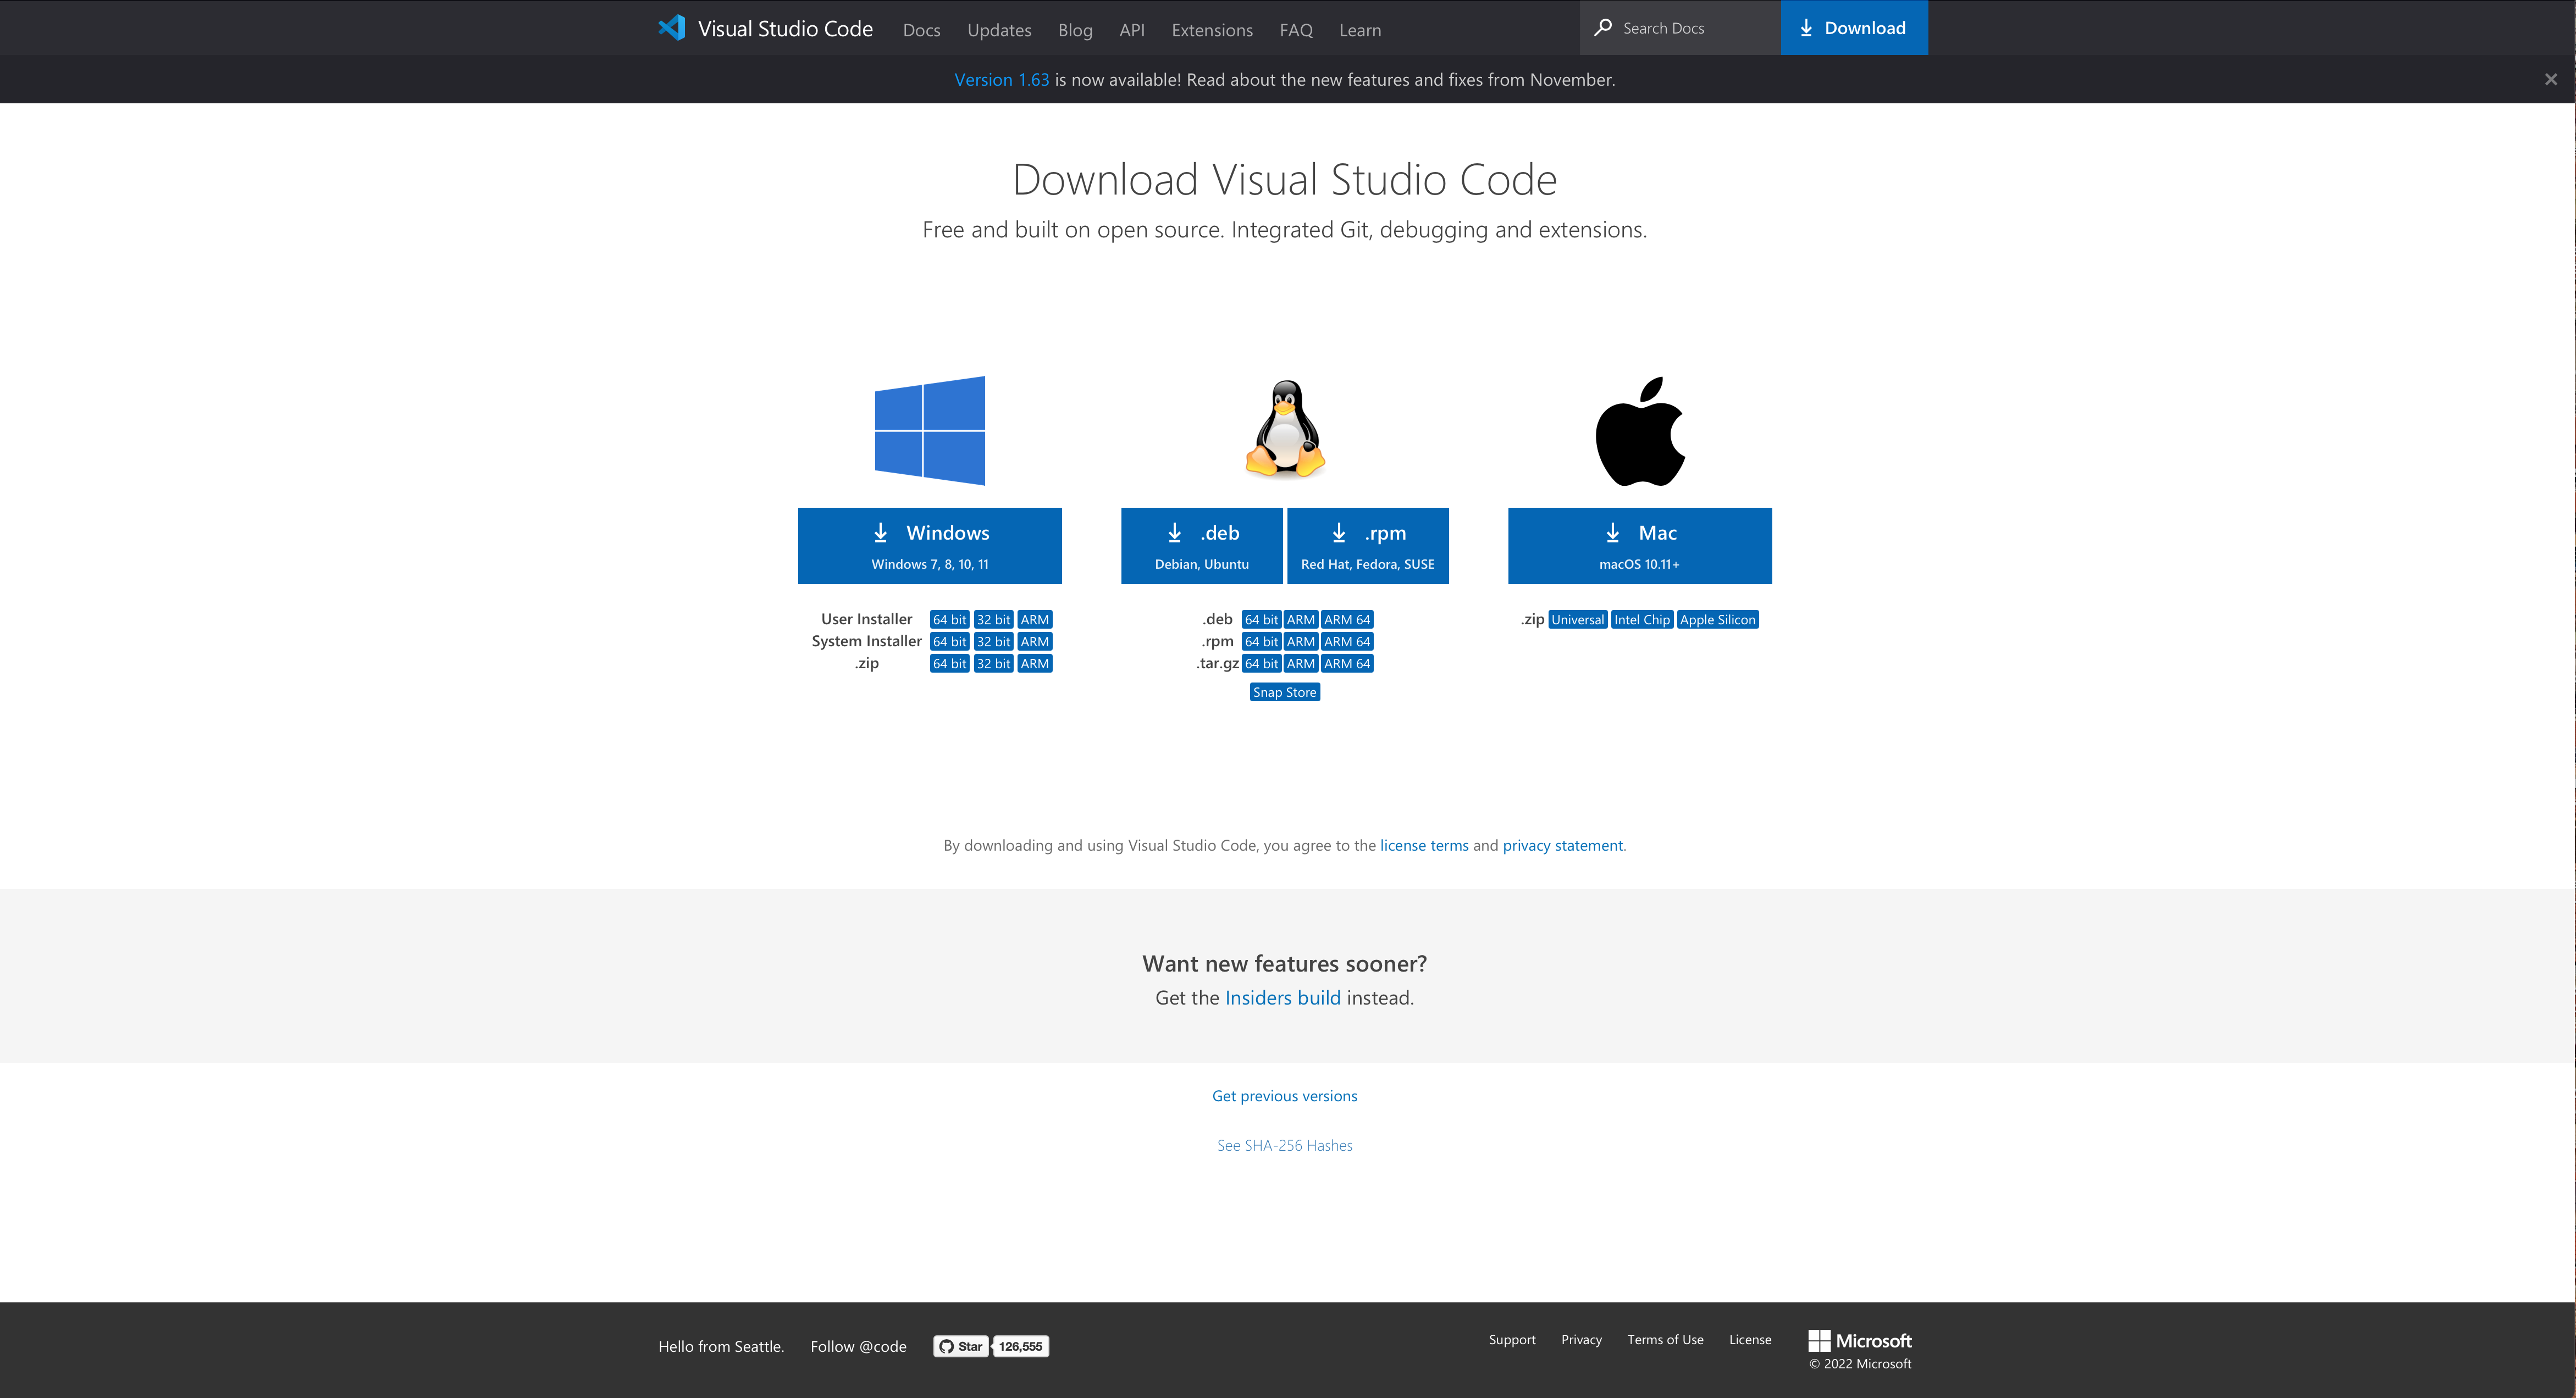
Once you have Anaconda installed, you should install VS Code.
Click the big buttons on the page that correspond to your operating system.
And that’s about it. We’ll cover how to use Jupyter notebooks and VS Code next. We’ll also see how to use Jupyter notebooks in Google Colab, which does not require a download.

Fig. 2.3 My Anaconda Navigator layout when I open it. See the Jupyter Notebook button? This is what you’ll want. Your layout will likely look a bit different from mine.#
